From Dusty and Scuffed to Supple and Stylish
One of the greatest thrills of thrifting is finding a pair of high-quality, genuine leather boots for a fraction of their original price. They might be from a top brand like Dr. Martens, Frye, or Red Wing, but they're often scuffed, dirty, and dried out from neglect. Don't let that deter you! With a little bit of elbow grease and a few essential products, you can bring even the most tired-looking boots back to life.
This guide will walk you through the process of how to restore leather boots, turning your dusty thrift flip into a beautiful, durable piece of footwear.
Step 1: The Deep Clean
First, you need to remove all the surface dirt, grime, and old polish that has built up over time.
- What You Need: A horsehair brush, a damp cloth, and saddle soap.
- How to Do It:
- Remove the laces from the boots.
- Use the horsehair brush to vigorously brush away any loose dirt and dust.
- Dampen your cloth, work up a lather with the saddle soap, and gently scrub the entire surface of the boot in small, circular motions. Don't be afraid to use a little pressure on stubborn spots.
- Wipe away the soap residue with a clean, damp cloth.
- Let the boots air dry completely for at least 12-24 hours. Do not place them near a heater or in direct sunlight, as this can cause the leather to crack.
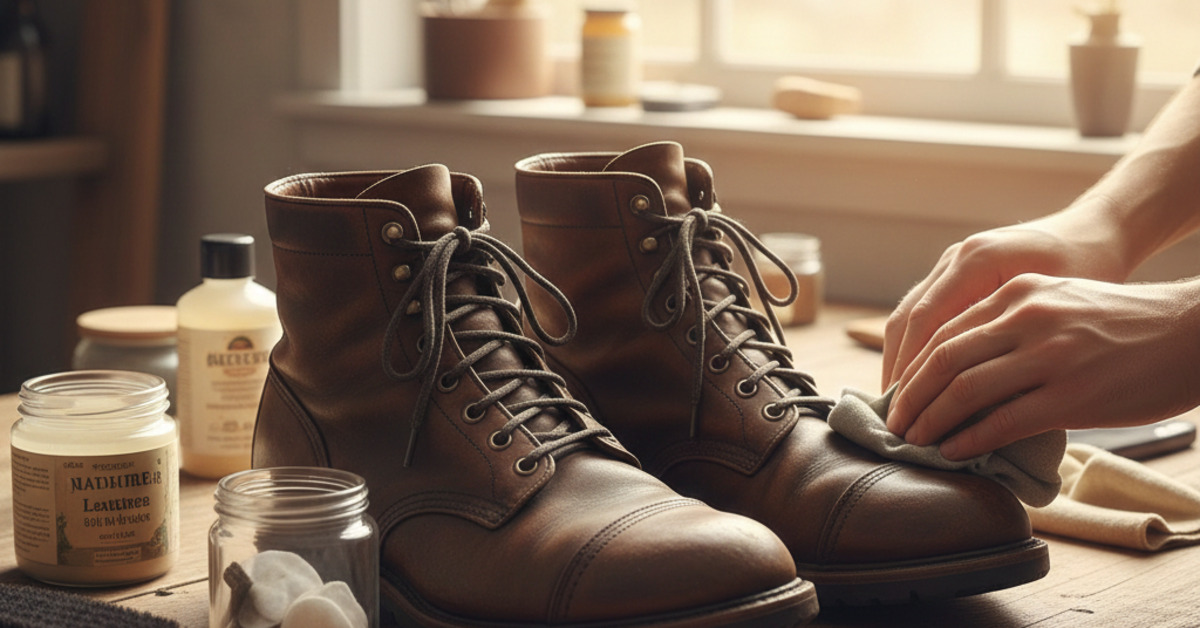
Step 2: Conditioning (The Most Important Step)
This is where the magic happens. Dried-out leather is brittle and prone to cracking. Leather conditioning replenishes the oils in the hide, making it soft, supple, and healthy again.
- What You Need: A high-quality leather conditioner (like Bick 4, Saphir Renovateur, or Venetian Shoe Cream) and a clean, soft cloth.
- How to Do It:
- Apply a small, dime-sized amount of conditioner to your cloth.
- Work the conditioner into the leather using small, circular motions. The leather will drink it up. Make sure to get into the creases and seams.
- Apply a thin, even coat over the entire boot.
- Let the conditioner absorb for at least 20 minutes (or as directed by the product).
- Using a clean part of the cloth or a new brush, buff the entire boot to remove any excess conditioner and bring out a soft shine.
Step 3: Polishing and Color Restoration (Optional)
If your boots are a specific color (like brown, oxblood, or black) and have scuffs that the conditioner didn't fix, a colored cream polish can help.
- What You Need: A cream polish that matches your boot color.
- How to Do It:
- Apply a very small amount of cream polish to the scuffed areas.
- Use a cloth or a dauber brush to work it in.
- Let it dry for a few minutes, then buff vigorously with a horsehair brush to blend it in and bring up the shine.
- Note: For deep gouges, a polish may not be enough, but for surface-level color loss, it works wonders.
Step 4: Waterproofing and Protection
Now that your boots are clean and conditioned, you want to protect them from the elements.
- What You Need: A waterproofing spray or a wax-based protectant (like Obenauf's Heavy Duty LP or Sno-Seal).
- How to Do It:
- For Sprays: Lightly mist the boots from a distance and let them dry.
- For Waxes: Apply a thin layer of the wax with your fingers or a cloth. The wax may darken the leather slightly. Gently heat the boot with a hairdryer to help the wax melt and penetrate the leather. Let it cure, then buff off any excess.
With these four steps, you can take a neglected pair of secondhand fashion boots and transform them into a durable, beautiful, and comfortable part of your wardrobe. Proper shoe care is a sustainable practice that extends the life of your belongings and saves you money in the long run.